Conduct a Patient Primary Care Visit
The following steps will assist clinicians on how to perform a primary care visit. (See Behavioral Health Visit for information on how to conduct a Behavioral Health visit.)
NOTE: The console will automatically sign off after being idle for 20 minutes.
(The following instructions assume that you are logged into the Console and currently in a status to accept patients. See Case Assignment for assistance.)
Once a patient is automatically assigned or you have manually assigned yourself a patient:
Click to select the patient from left side of the screen.

The patient info panel displays allowing clinicians to review patient information such as name, age, gender, current medications, and any known drug allergies. The patient’s sponsor (or self-pay designation) is also displayed here.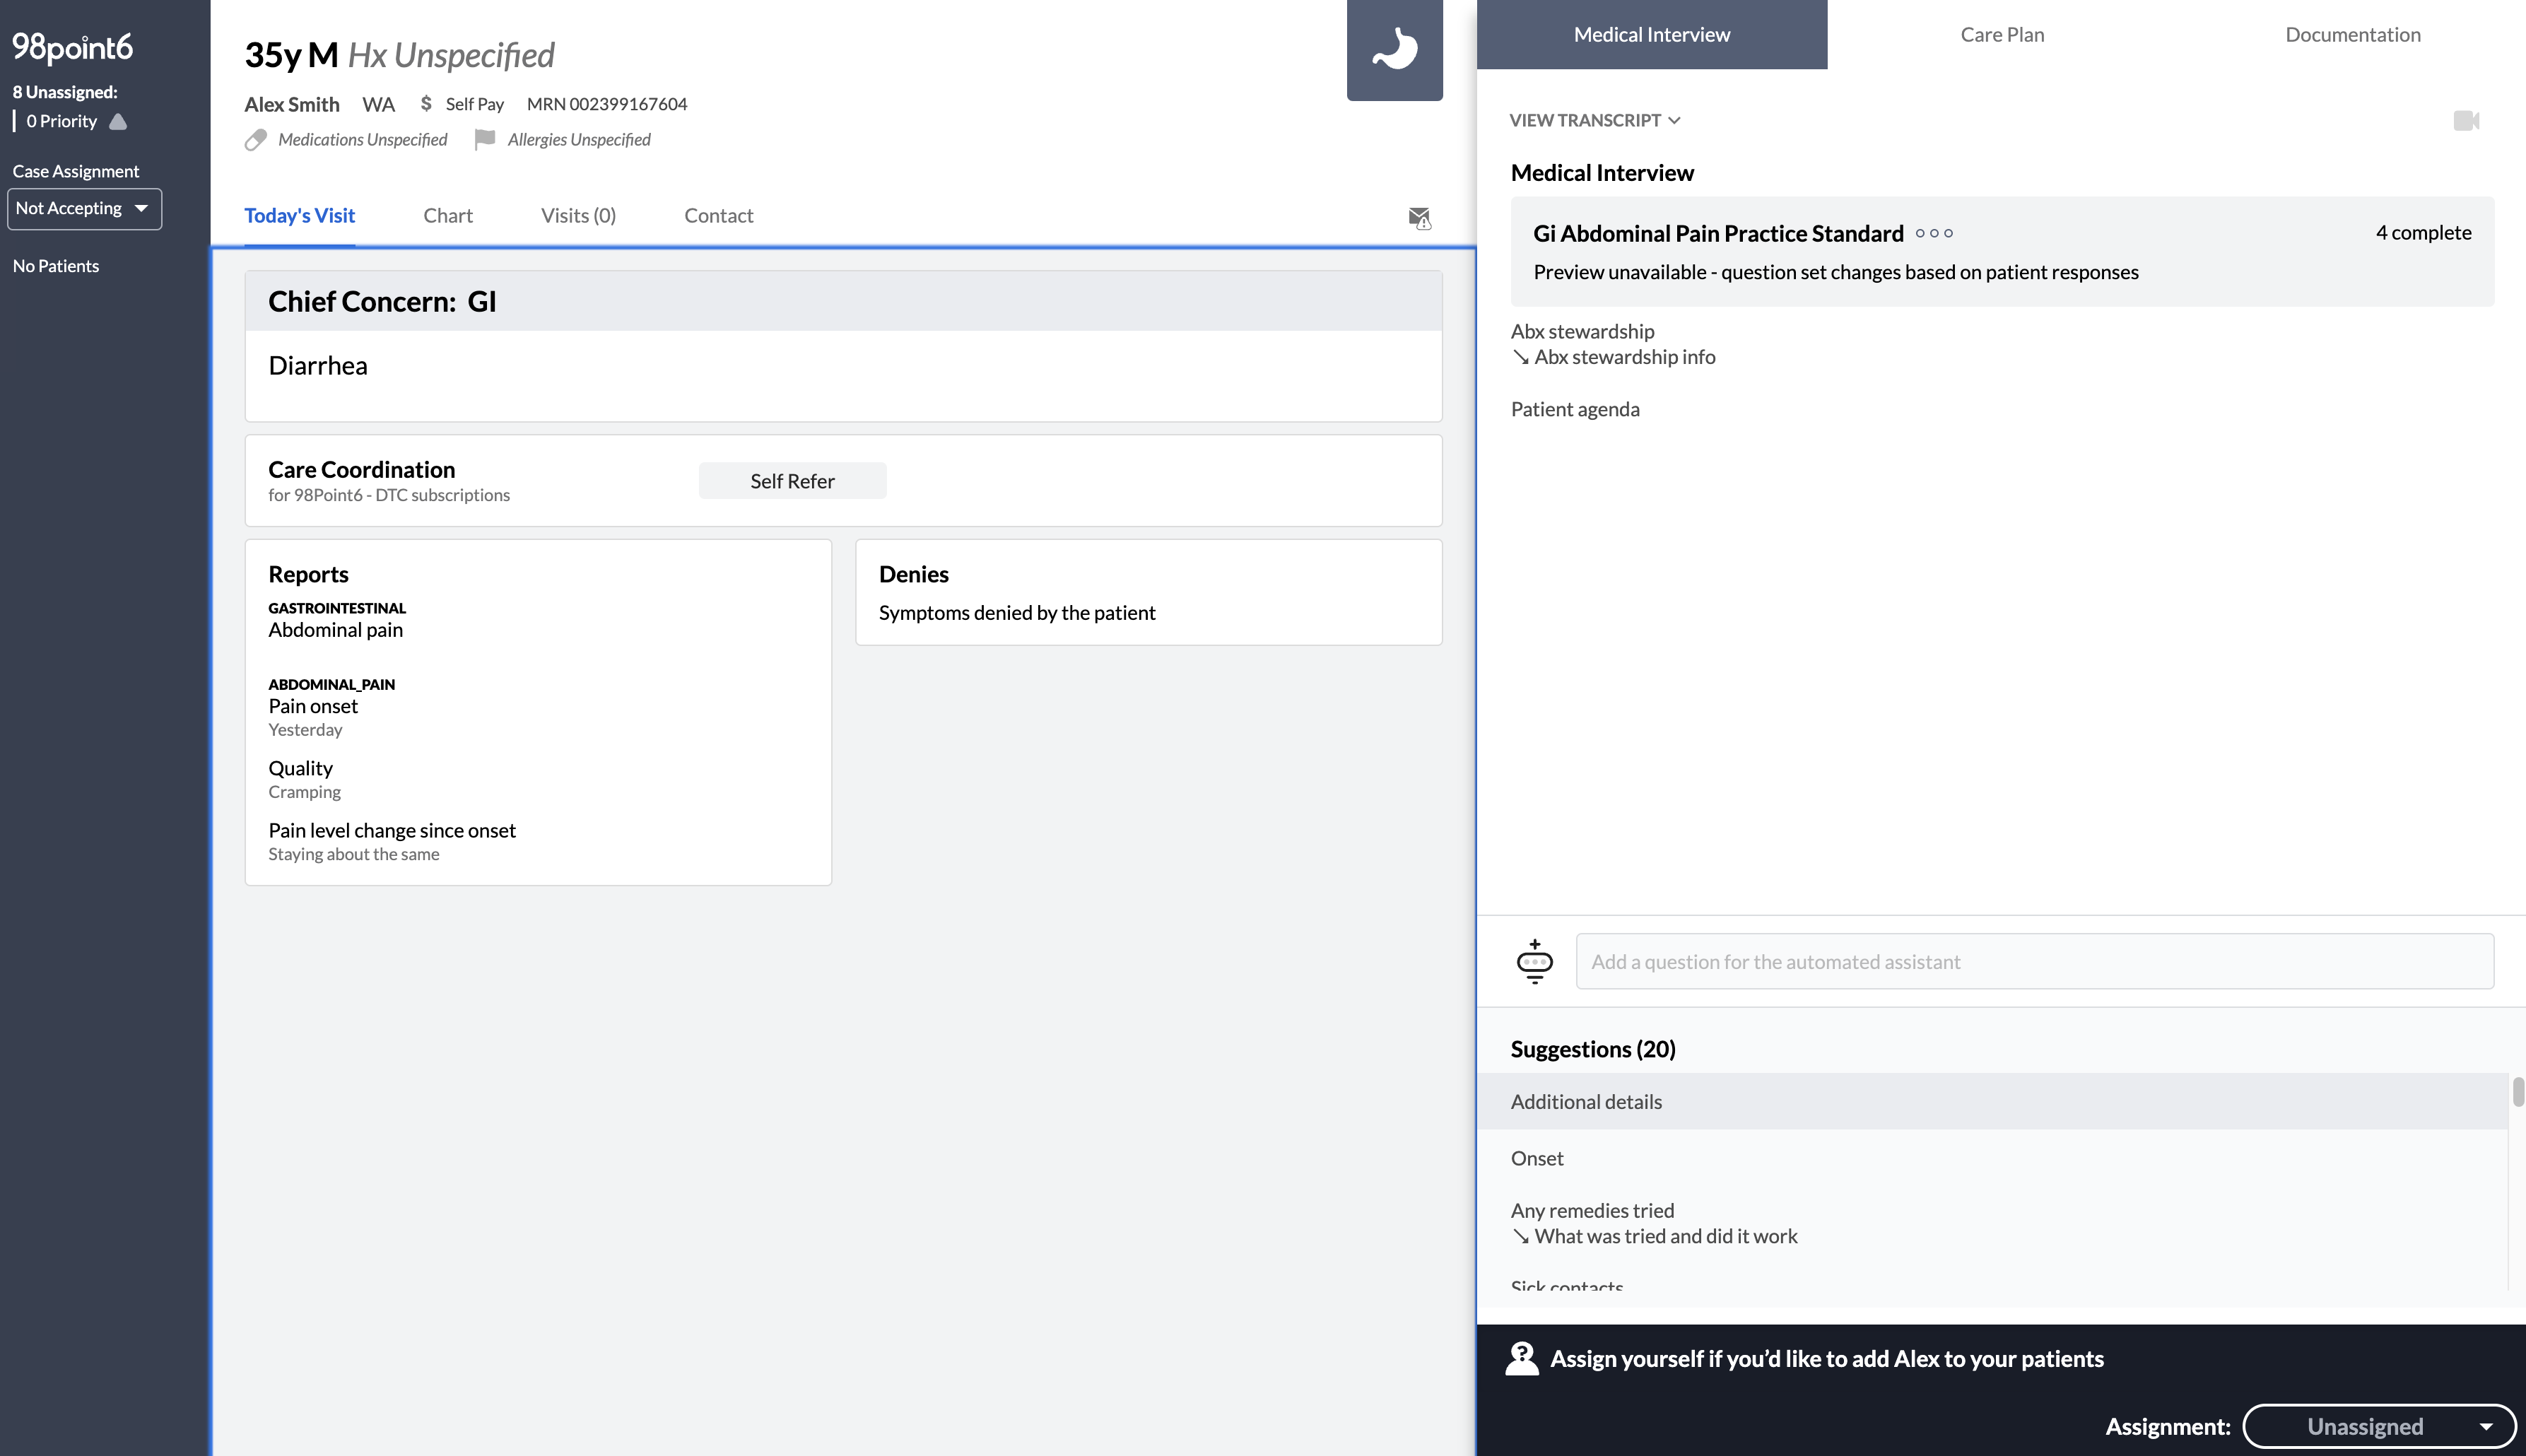
Select any of the following on the left side of the patient info panel to review prior to the patient visit:
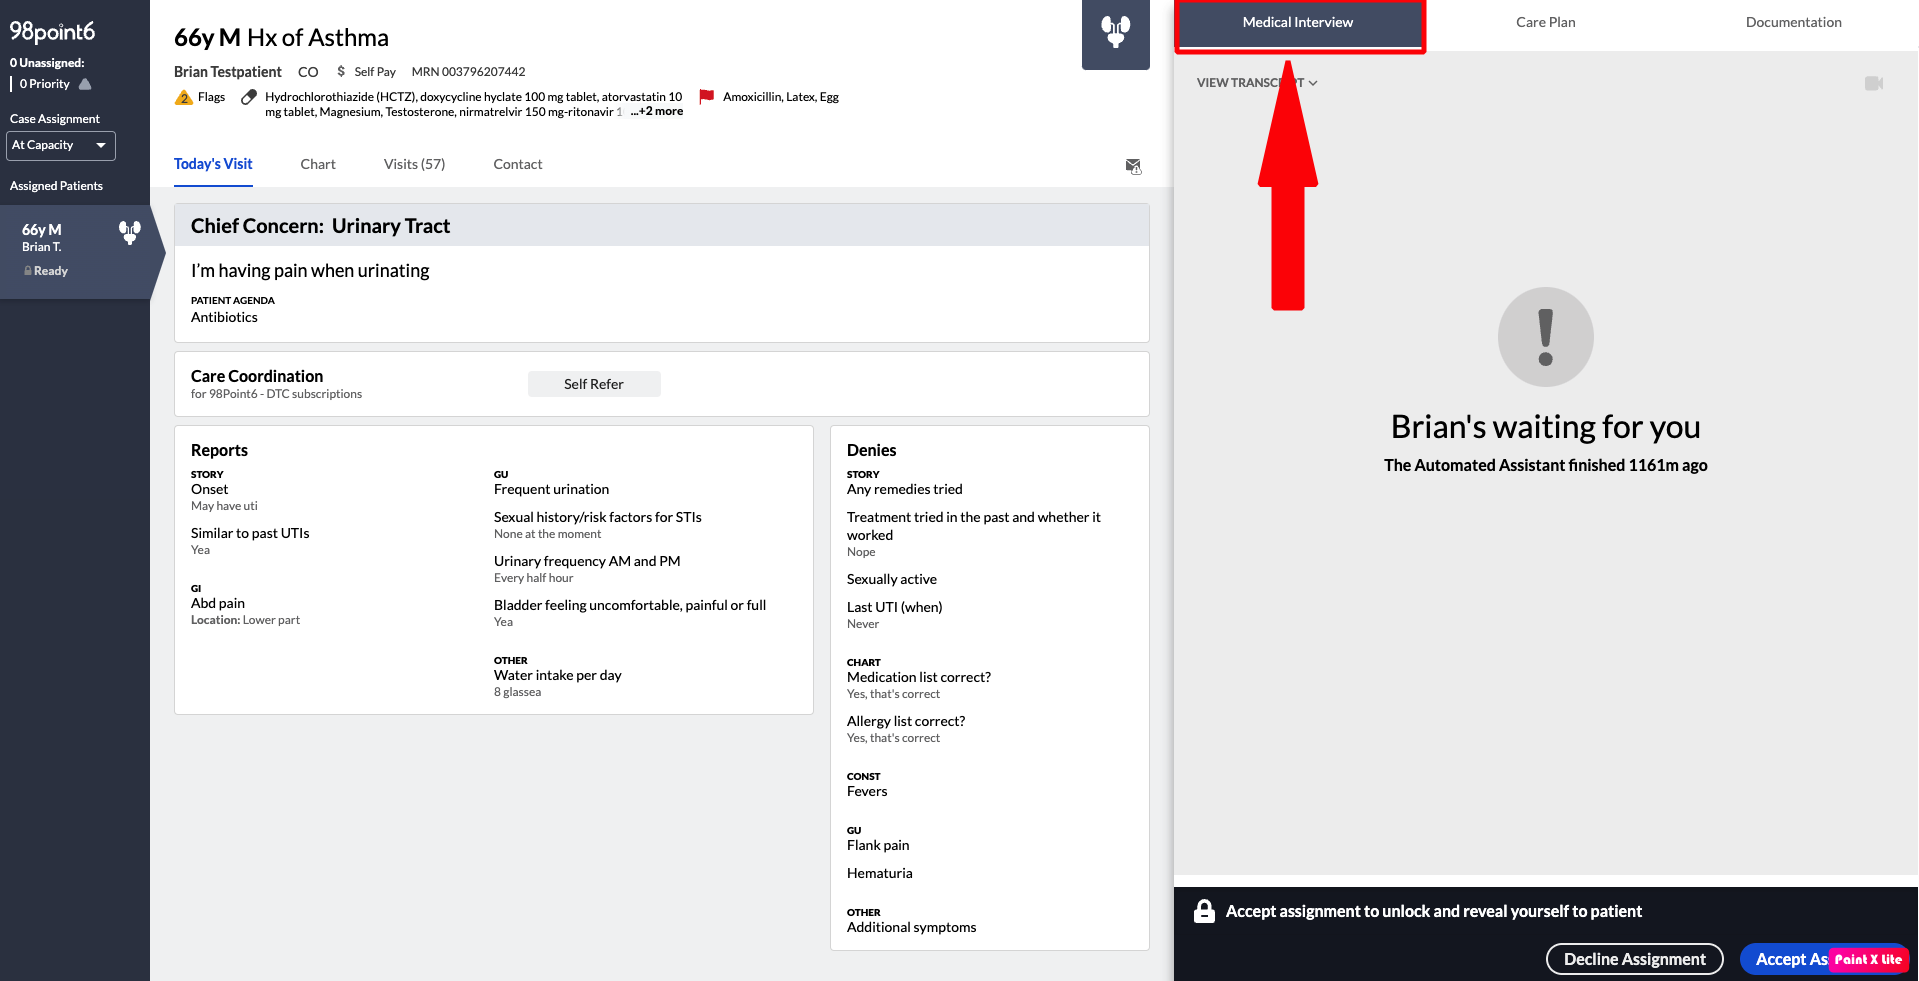
The Medical Interview tab is the default tab that opens when you first select a patient. From this tab, select Accept Assignment on the bottom, right side of the screen after you have reviewed the information from the previous step and/or are ready to begin the patient visit.
Select Join Chat, also located on the bottom, right side of the screen (the Accept Assignment button changes to the Join Chat button once the patient accepts from within the application).
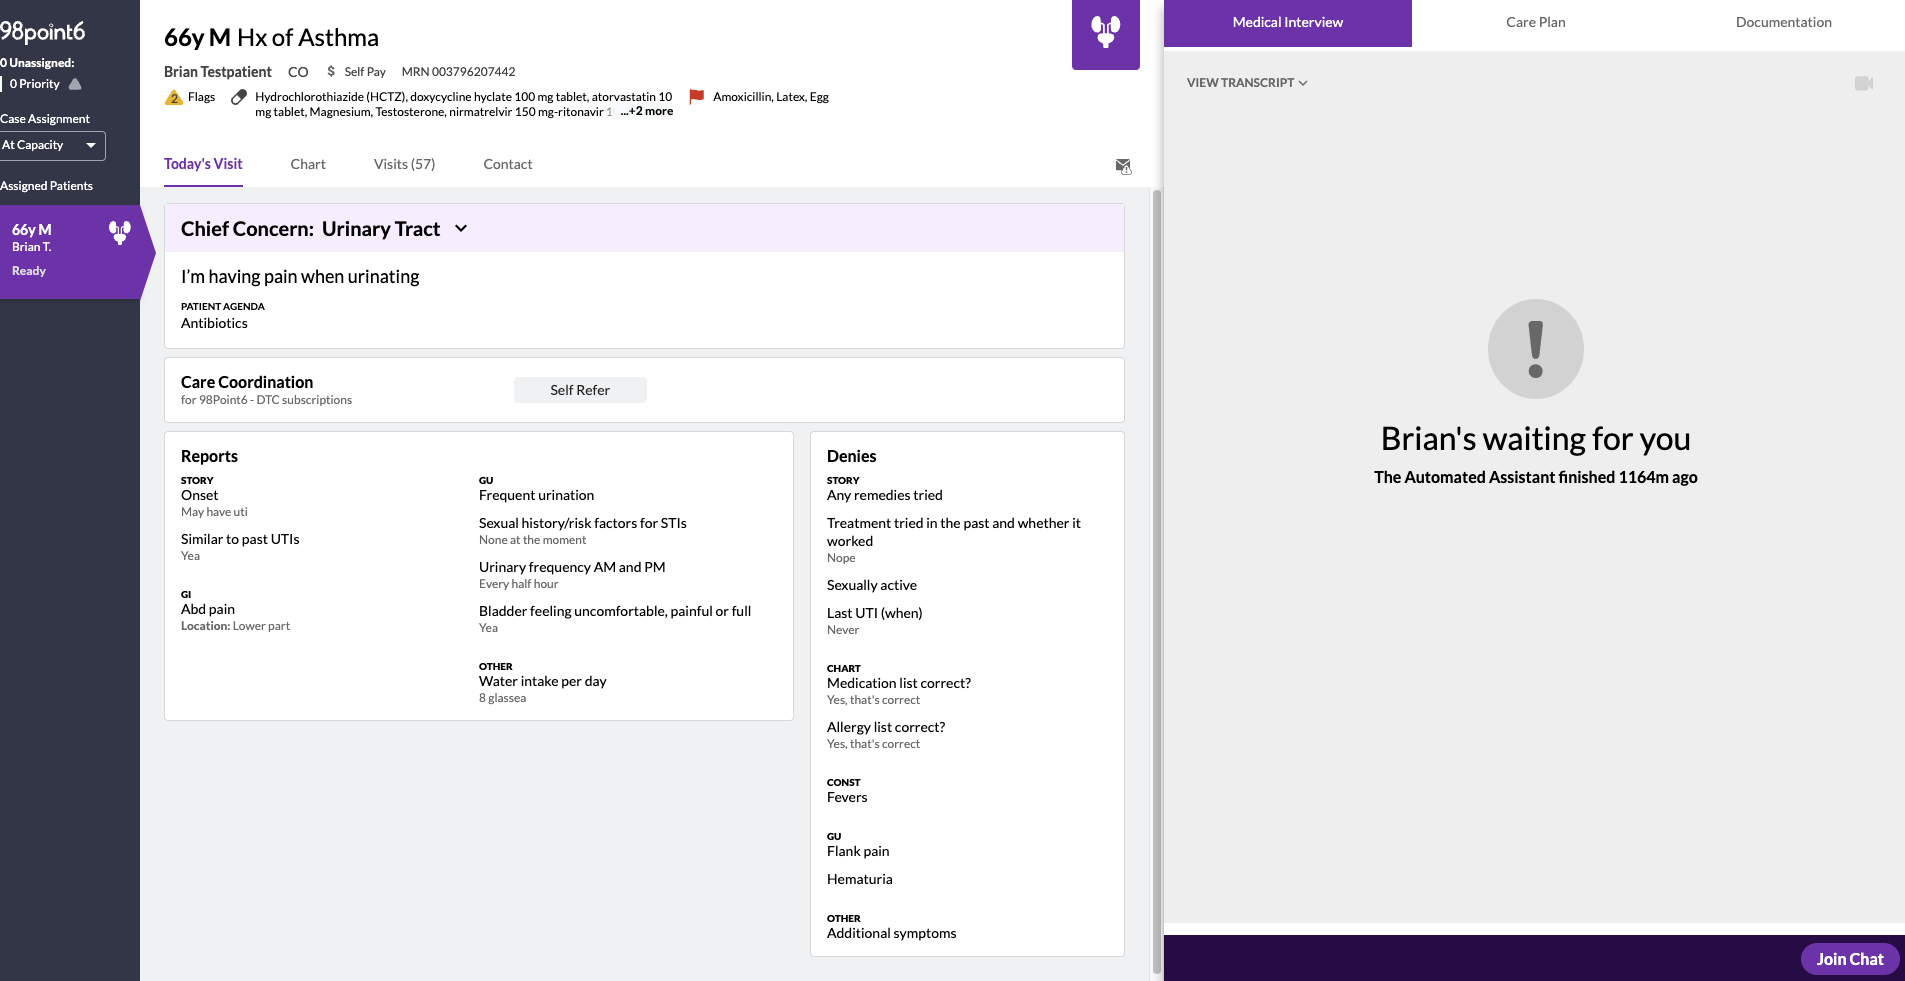
Selecting the Join Chat button also sends the patient an automated, introductory text introducing you and letting them know you are ready to conduct the visit.
Some states require the usage of a video camera (for both patient and clinician). You’ll see the Video call required to establish care notification within the Medical Interview tab when applicable. Select Start Video to begin. (See Videos to Establish and Provide Care for more information on how to conduct video visits.)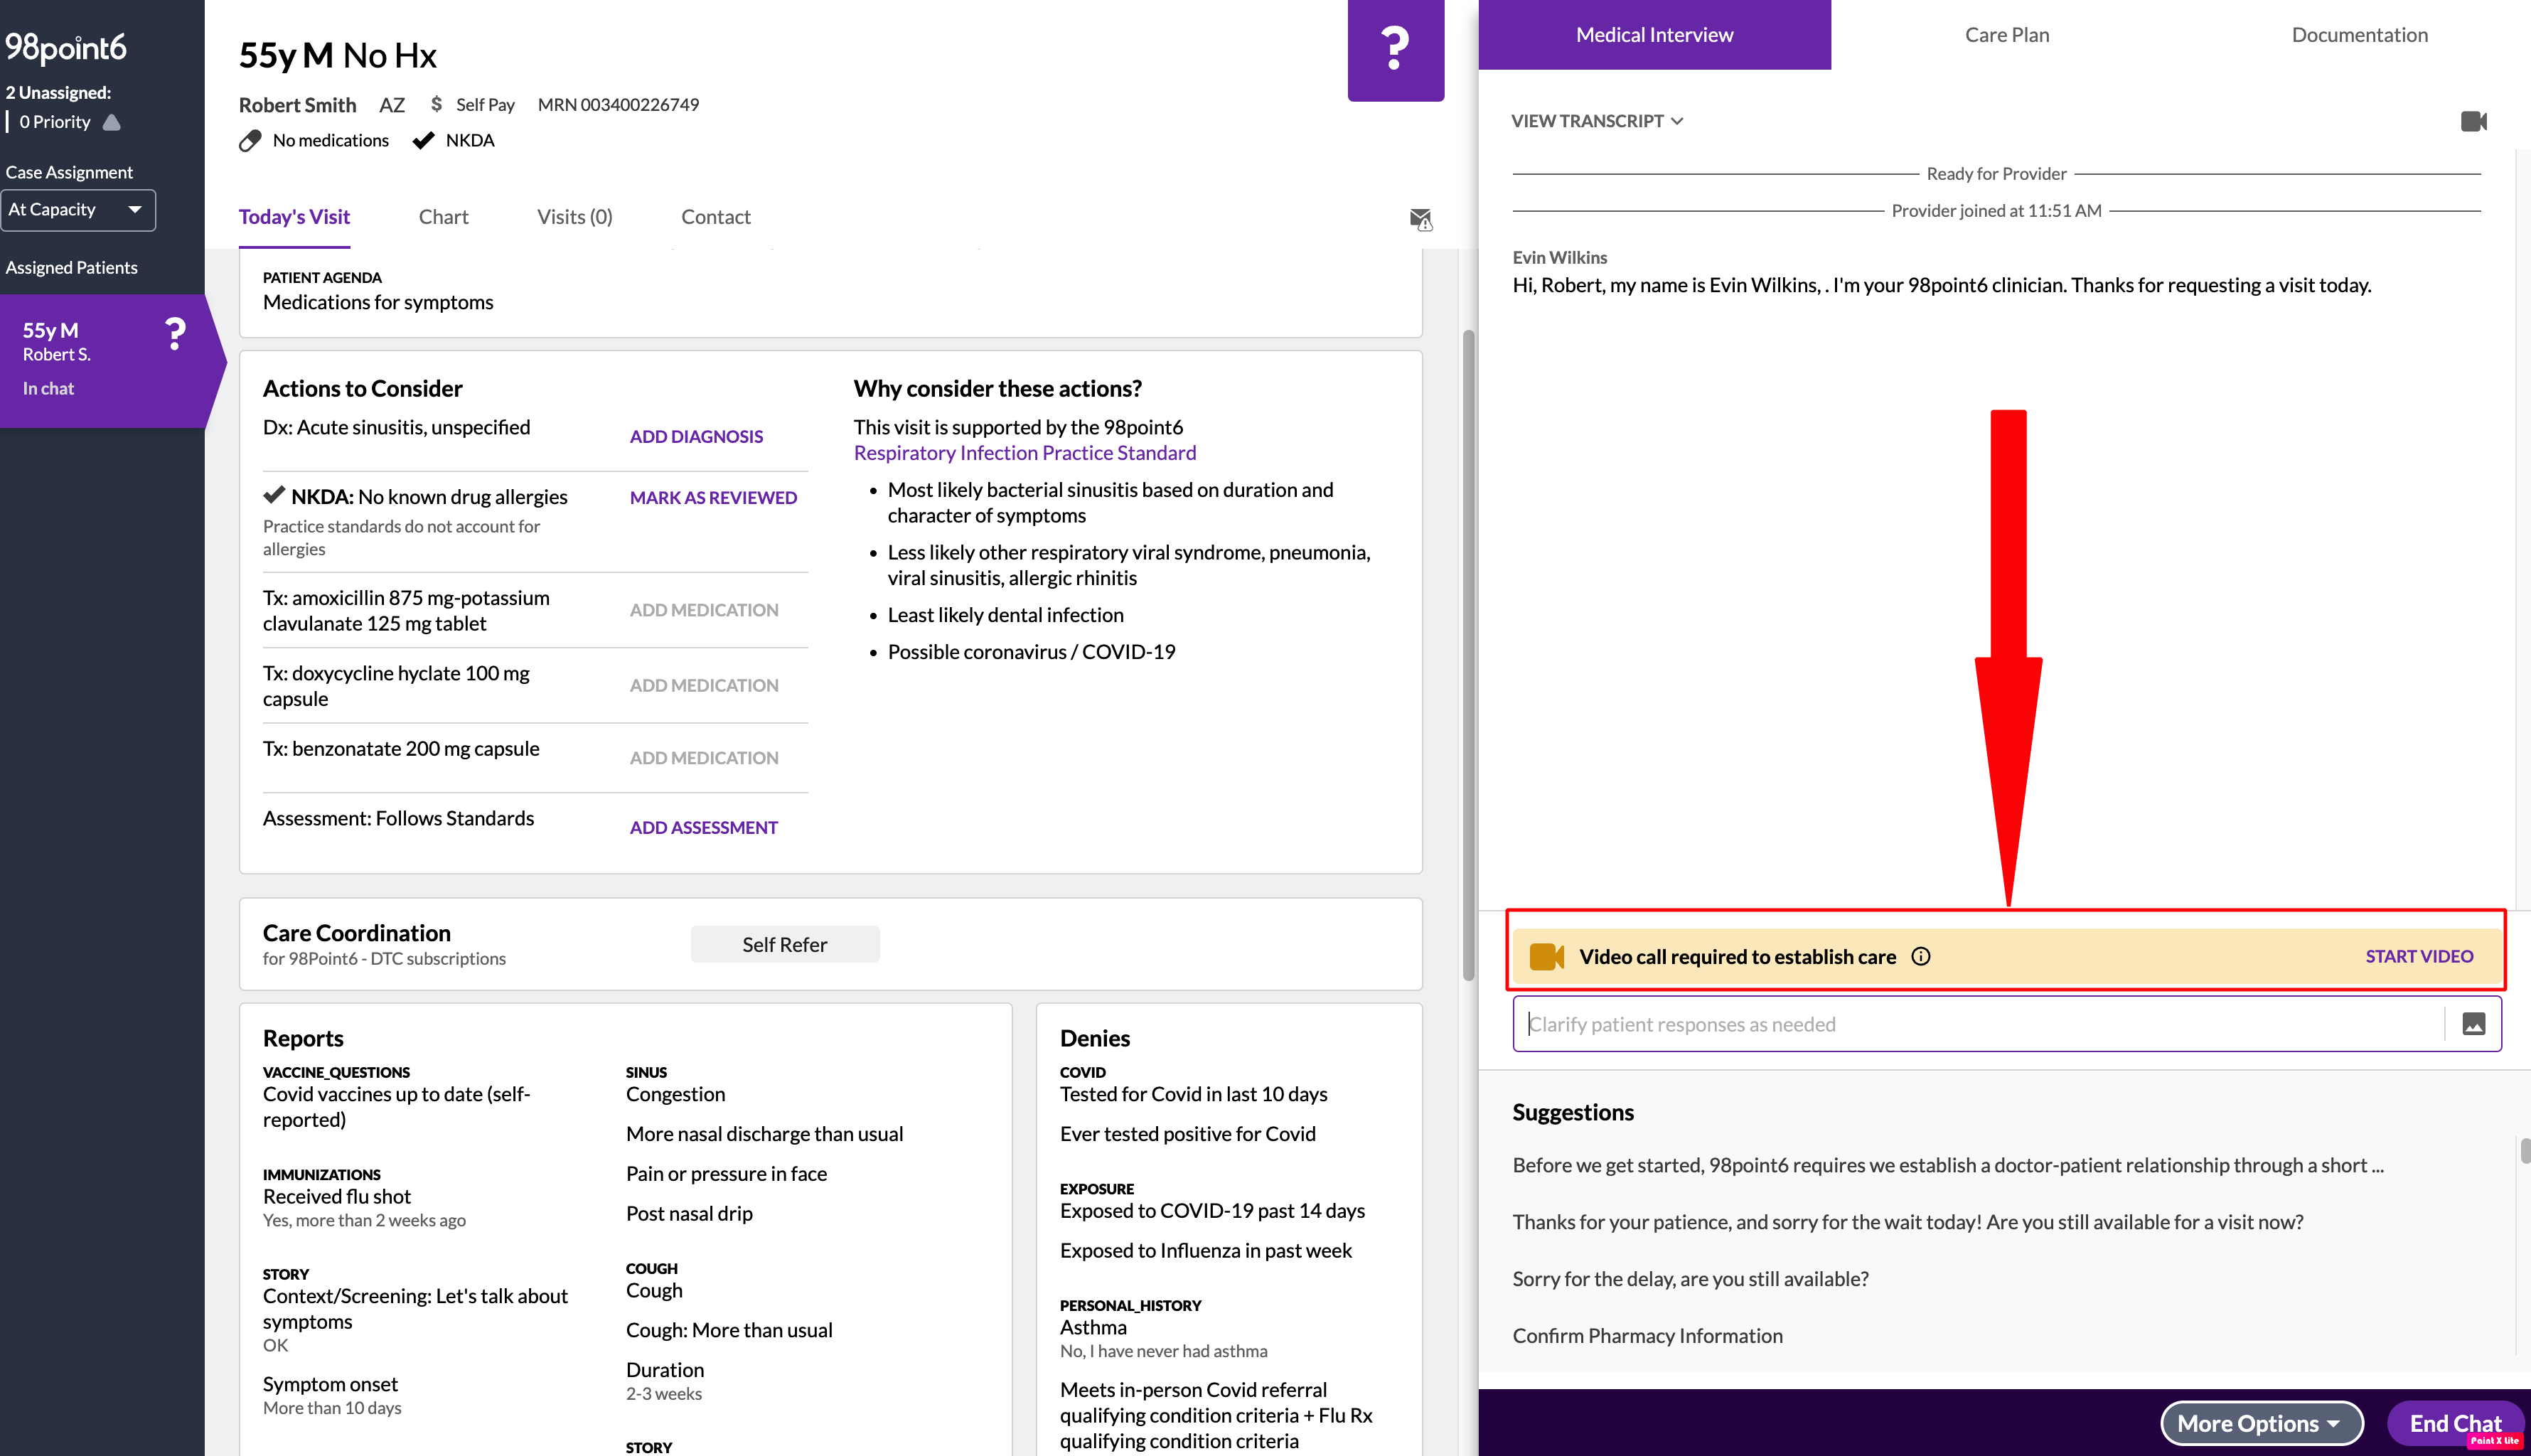
At this point (and throughout the visit), you have the option to enter your own responses into the free text field or, to click to select a response from the Suggestions below the text box.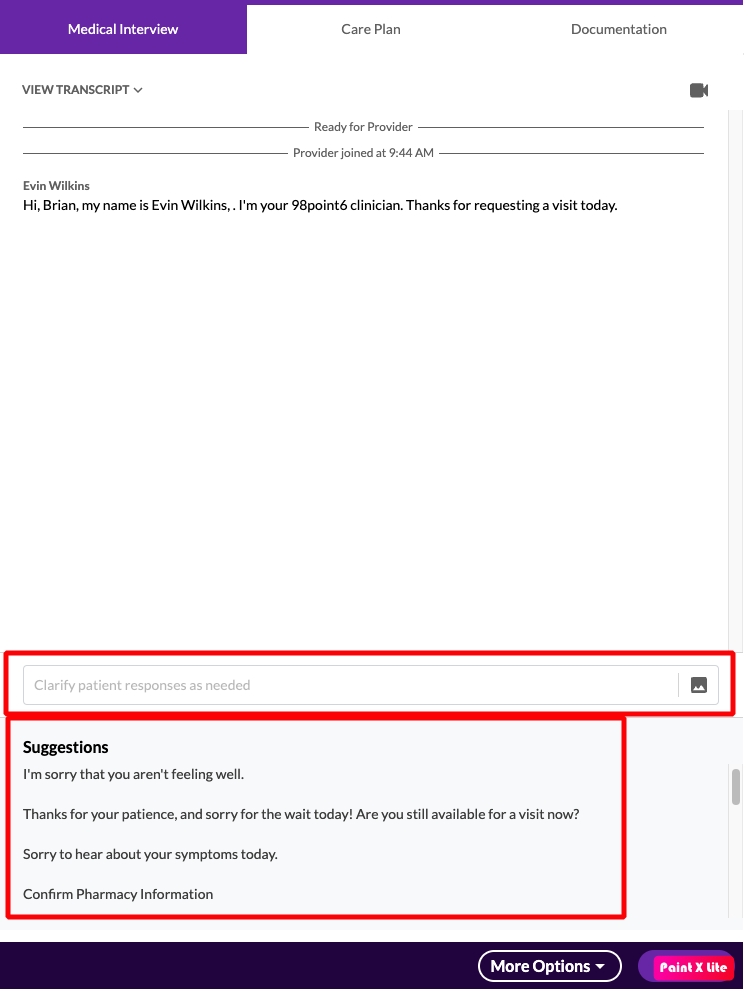
If you choose to enter free text, enter your response into the free text field, and then press ENTER or RETURN on your keyboard (depending on your device). Note that the system will often still recommend suggested text when using the free text field. Using the suggested text is completely optional at at your own discretion.
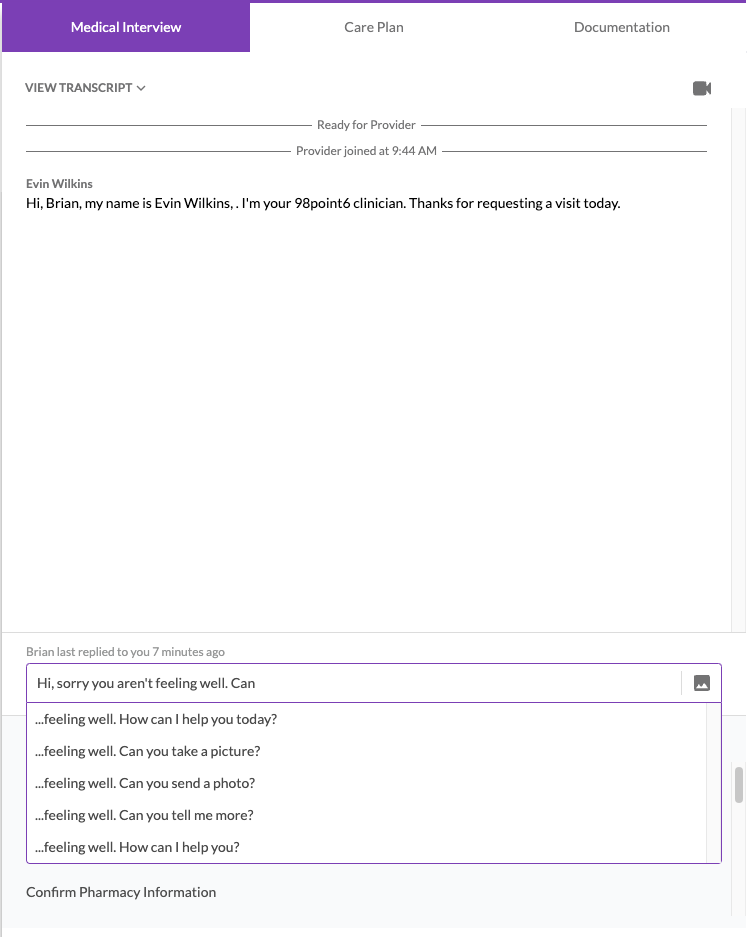
If you choose to use a response from the Suggestions, double-click the suggestion you wish to use. It will then automatically send to the patient. (You can also single click a suggestion to select it, which places the text into the text field. This allows you to make any changes or customizations you wish to add. Just press ENTER or RETURN on your keyboard to send, depending on your device.)
Select End Chat when you are ready to end the visit, and then select Confirm when prompted. Note that there may be times when the patient leaves the call before the visit has been completed. The More Options menu allows you to leave without the need to finalize a care plan.
Proceed to Complete the Patient Visit for more information on how to complete the visit.